
One of the popular techniques that can be achieved with a CNC router is scalloping the board edge. This process not only adds an aesthetic appeal but also gives a unique touch to your wooden creations. In this comprehensive guide, we will explore the step-by-step process of scalloping a board edge using a CNC router.
I. Introduction to Scalloping Board Edge with CNC Router
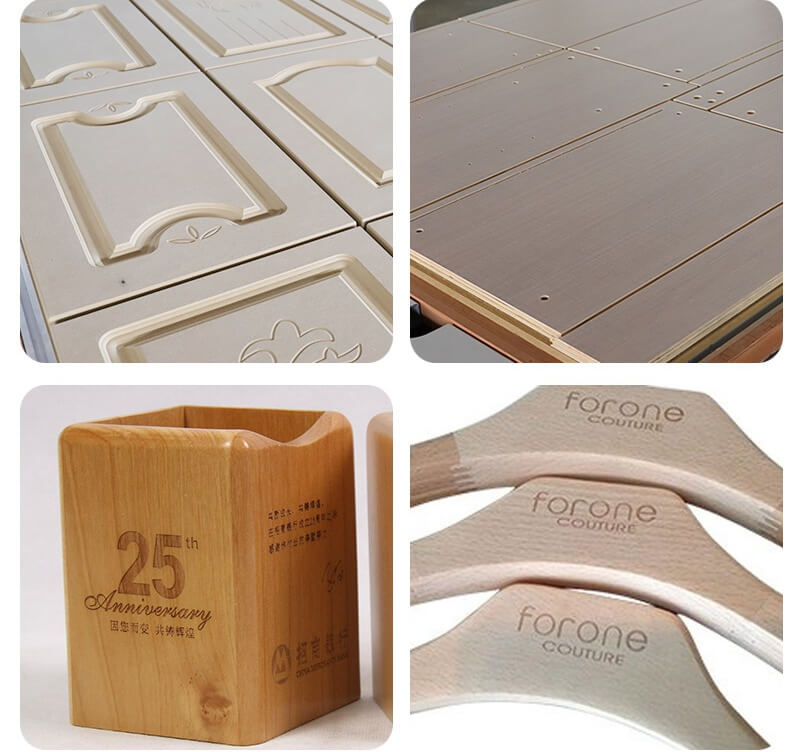
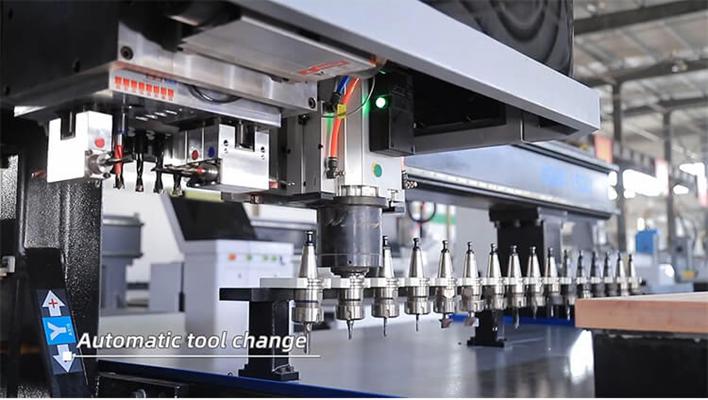
Scalloping the edge of a board refers to creating a series of curved indentations or scallops along the perimeter. This decorative technique can be used on furniture, cabinetry, picture frames, and other wooden items to enhance their visual appeal. The CNC router, with its precision and programmability, is an ideal tool for achieving consistent and accurate scalloped edges.
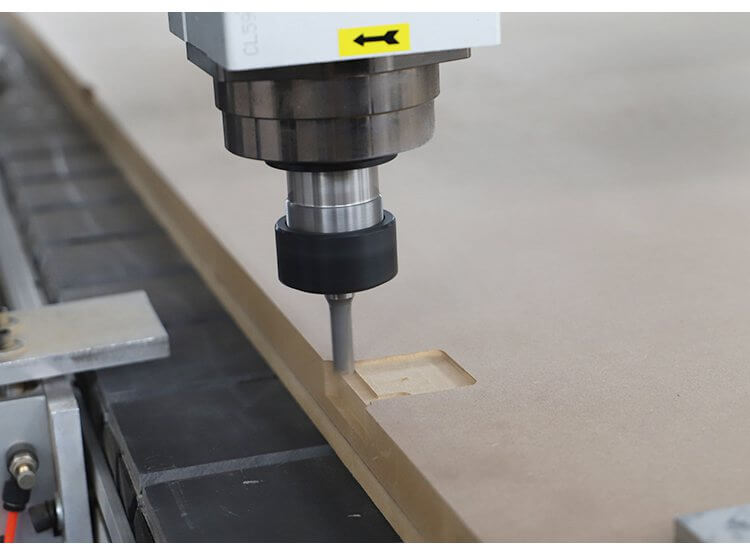
A CNC router is a computer-controlled machine that uses a router bit to cut, carve, and shape wood and other materials. By programming specific paths and movements, you can create complex designs and patterns with ease. When it comes to scalloping the board edge, the CNC router can precisely control the depth and shape of each scallop, ensuring a professional finish.
II.Tools and Materials Needed
-
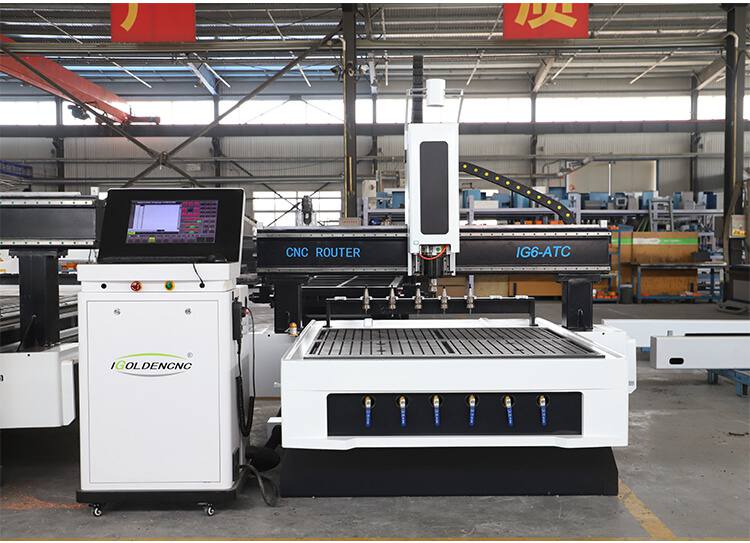
CNC Router
Obviously, the main tool you will need is a CNC router. Make sure it is in good working condition and properly calibrated. Consider the size and power of the router based on the size of your projects. -
Router Bits
Select the appropriate router bit for scalloping. A ball nose router bit is commonly used as it can create smooth curves. The size of the bit will determine the depth and width of the scallops. -
Wood Boards
Choose the type and quality of wood boards according to your project requirements. Ensure that the boards are properly prepared and sanded before scalloping. -
Computer and Software
You will need a computer with CAD/CAM software to design and program the scalloped edge pattern. Popular software options include Vectric Aspire, Fusion 360, and SketchUp. -
Clamps and Fixtures
To hold the wood board securely in place during machining, you will need clamps and fixtures. These will ensure that the board does not move or shift during the cutting process. -
Safety Gear
Wear appropriate safety gear such as safety glasses, ear protection, and a dust mask. CNC routers can generate dust and noise, and safety should always be a top priority.
III.Designing the Scalloped Edge Pattern
-
Software Selection
Choose a CAD/CAM software that suits your skill level and project needs. Some software is more user-friendly and intuitive, while others offer more advanced features for complex designs. -
Sketching the Pattern
Using the software’s drawing tools, sketch out the scalloped edge pattern. You can start with a simple curve or shape and then duplicate and arrange it along the edge of the board. Experiment with different shapes and sizes to achieve the desired look. -
Adjusting Parameters
Once you have the basic pattern, you can adjust various parameters such as the depth, width, and spacing of the scallops. You can also add bevels or chamfers to the edges for a more refined finish. -
Previewing the Design
Most software allows you to preview the design in 3D before machining. This helps you visualize the final result and make any necessary adjustments. Check for any potential issues such as collisions between the router bit and the board or areas that may not be properly machined. -
Saving the Design
Once you are satisfied with the design, save it in a format that is compatible with your CNC router’s control software. Common file formats include G-code, DXF, and SVG.
IV.Setting Up the CNC Router
-
Machine Calibration
Before starting any machining operation, it is essential to calibrate the CNC router. This includes checking the accuracy of the axes, setting the correct cutting speeds and feeds, and ensuring that the router bit is properly installed. -
Mounting the Router Bit
Select the appropriate router bit for scalloping and mount it securely in the router spindle. Make sure the bit is tightened properly to prevent any vibrations or runout during machining. -
Loading the Wood Board
Place the wood board on the CNC router’s worktable and secure it with clamps and fixtures. Ensure that the board is level and properly aligned with the machine’s axes. -
Setting the Origin
Set the origin or reference point for the machining operation. This is usually done by touching off the router bit to a specific location on the board or using the machine’s built-in sensors. -
Loading the Design File
Transfer the design file from your computer to the CNC router’s control software. Make sure the file is loaded correctly and that all the settings are as per your design.
V. Machining the Scalloped Edge
VI. Troubleshooting Common Issues
VII. Maintenance and Care of the CNC Router
-
Regular Cleaning
Dust and debris can accumulate on the CNC router and affect its performance. Clean the machine regularly using a soft cloth and mild cleaner. Pay special attention to the router spindle, cutting area, and dust collection system. -
Lubrication
Lubricate the machine’s moving parts such as the slides and bearings on a regular basis. This will reduce friction and wear and ensure smooth operation. Follow the manufacturer’s recommendations for the type and frequency of lubrication. -
Inspections
Inspect the CNC router regularly for signs of wear and tear such as loose bolts, damaged belts, or worn-out parts. Replace any damaged or worn parts immediately to prevent further damage to the machine. -
Software Updates
Keep the CNC router’s control software up to date to ensure optimal performance and access to the latest features and bug fixes. Check for software updates regularly and install them as needed.
VIII. Creative Applications of Scalloped Board Edges
-
Furniture Design
Scalloped edges can add a decorative touch to furniture pieces such as tables, chairs, and cabinets. They can be used on the edges of tabletops, drawer fronts, or as a border around a piece of furniture. -
Picture Frames
Create unique picture frames with scalloped edges. You can customize the size and shape of the scallops to match the style of the picture or the decor of the room. -
Signage and Decorative Items
Scalloped edges can be used to create signs, plaques, and other decorative items. Add painted or engraved details to enhance the visual appeal. -
Architectural Elements
Incorporate scalloped edges into architectural elements such as moldings, trim, and paneling. They can add a touch of elegance and sophistication to any space.
IGOLDEN BLOG
Thank you for visiting the iGOLDENCNC website. iGOLDENCNC is the professional supplier of CNC machinery application solution, within the business of producing and selling CNC machinery and accessories.